Today is the day for my first attempt at painting with two-part epoxy paint. I have a hobby airbrush, but this boat is just too big for it, and I'm not sure what the epoxy paint would do to it, so I bought a $15 sprayer that I could hook up to my garage air compressor instead of my small hobby compressor.
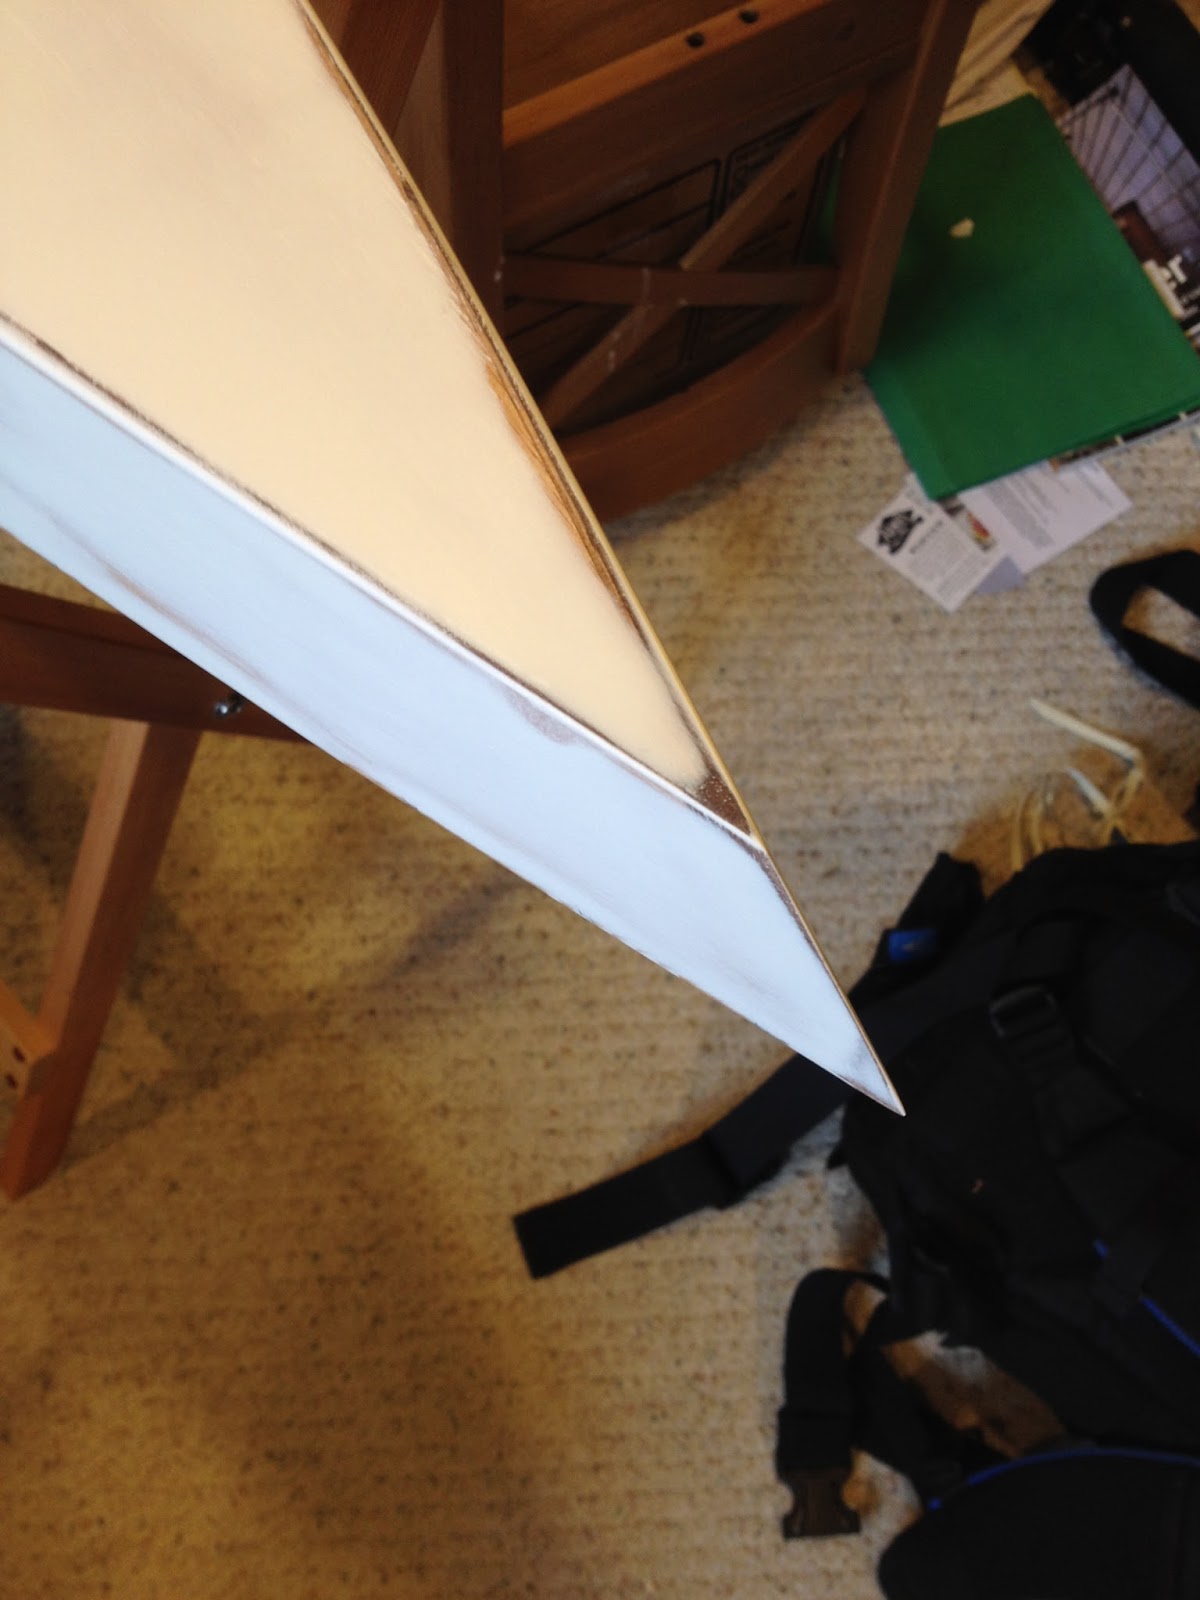
I sanded the hull with 200 grit until as smooth as I dared go, then did the hull lightly again with 400. Wiped it down and started to get geared up to paint. The hull was very smooth and "plastic-like". There were still the very few little scratches and goofs that I just didn't want to sand out or I'd risk making a big indent. Hopefully the paint will fill them and any remaining ones I'll just have to live with.

I then masked the deck with auto-body masking tape. It worked much better than normal masking tape.
Noticed some small orange peel after the first two coats but added a third coat anyway to see if it would go away. It didn't although it's better. They say the first couple coats should be very light, and I think I sprayed lightly, but perhaps I went too heavy at first? The first coat was supposed to have a dry look and it did. Hmmm... Anyway, waiting for it to cure and I'll sand it a bit with some 400 or so and see if I can flatten it a bit. Then I'll add one more finish coat. It needs one anyway because I can still see through the paint.
Reading online it says that it could be that I didn't reduce it enough. I wasn't completely at a 1:1:1 ratio and instead only used about 1/2 the amount of reducer. I'll use the entire amount. It also said that I may not be putting on enough paint. Sigh... experience counts I guess! More tomorrow.
One of the guys I met the other week at the pond just contacted me and pointed me to his T37 build blog. It looks great so far. He apparently just finished building a Pygmy kayak too. Having build three of those I can tell you that his look amazing! He's an artist. I'm very excited to see his T37 when finished.
I sanded the hull with 200 grit until as smooth as I dared go, then did the hull lightly again with 400. Wiped it down and started to get geared up to paint. The hull was very smooth and "plastic-like". There were still the very few little scratches and goofs that I just didn't want to sand out or I'd risk making a big indent. Hopefully the paint will fill them and any remaining ones I'll just have to live with.
I then masked the deck with auto-body masking tape. It worked much better than normal masking tape.
Noticed some small orange peel after the first two coats but added a third coat anyway to see if it would go away. It didn't although it's better. They say the first couple coats should be very light, and I think I sprayed lightly, but perhaps I went too heavy at first? The first coat was supposed to have a dry look and it did. Hmmm... Anyway, waiting for it to cure and I'll sand it a bit with some 400 or so and see if I can flatten it a bit. Then I'll add one more finish coat. It needs one anyway because I can still see through the paint.
Reading online it says that it could be that I didn't reduce it enough. I wasn't completely at a 1:1:1 ratio and instead only used about 1/2 the amount of reducer. I'll use the entire amount. It also said that I may not be putting on enough paint. Sigh... experience counts I guess! More tomorrow.
One of the guys I met the other week at the pond just contacted me and pointed me to his T37 build blog. It looks great so far. He apparently just finished building a Pygmy kayak too. Having build three of those I can tell you that his look amazing! He's an artist. I'm very excited to see his T37 when finished.
Comments
Post a Comment